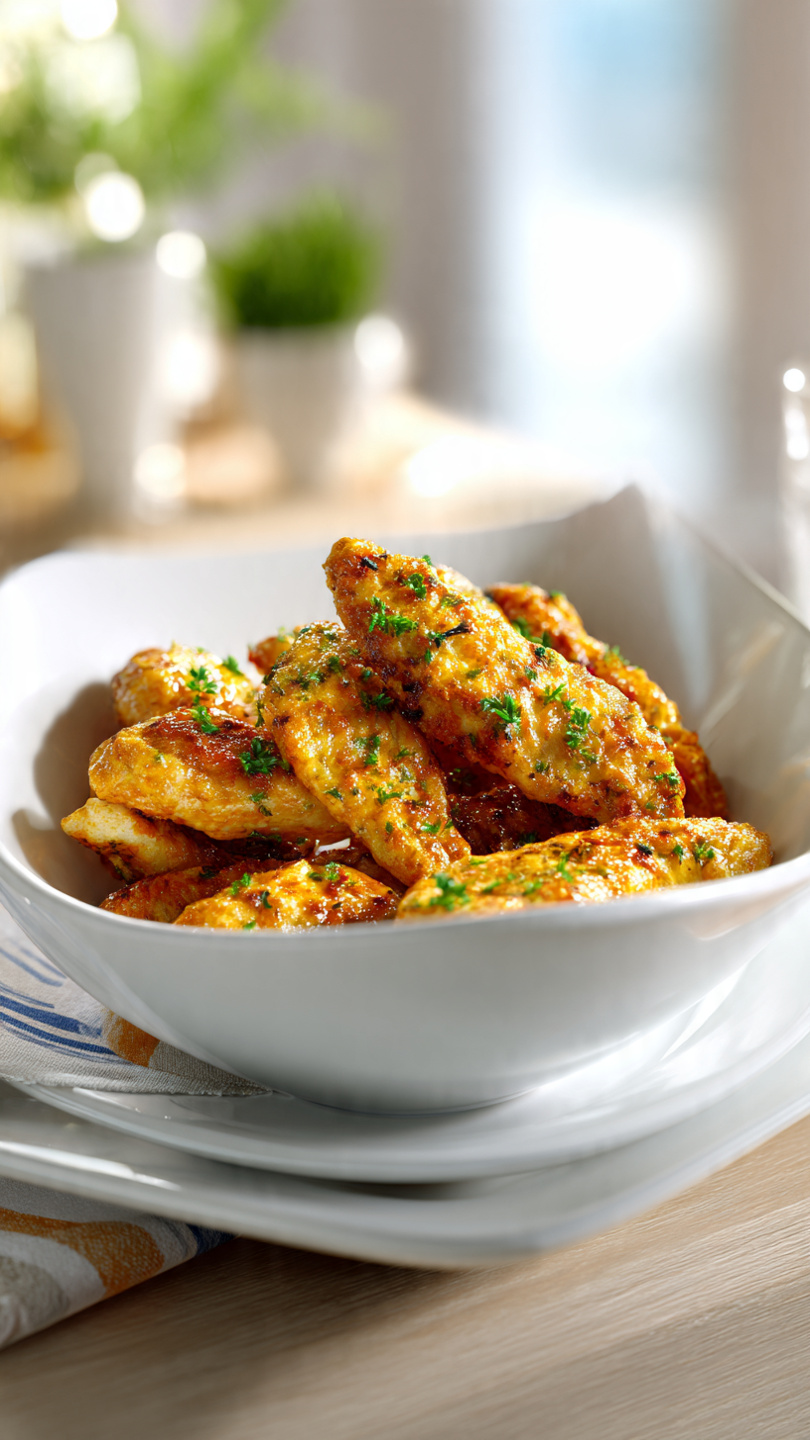
Crispy Oven-Baked Chicken Tenders (Simple & Delicious)
These crispy oven-baked chicken tenders are golden, juicy, and ready in under 40 minutes. A simple chicken tenders recipe the whole family will beg for on repeat.

The Only Crispy Chicken Tender Recipe You Will Ever Need
If your household is anything like mine, chicken tenders are requested on a near-weekly basis. And honestly? I do not blame anyone. There is something deeply satisfying about a chicken tender that is shatteringly crispy on the outside, perfectly juicy on the inside, and seasoned just right from the very first bite. This simple chicken tenders recipe delivers exactly that, straight from your oven and onto the table in under 40 minutes.
No deep fryer. No giant mess. No compromise on crunch.
Why This Recipe Works So Well
The secret is a combination of three things that most recipes skip over:
- Panko breadcrumbs instead of regular breadcrumbs. Panko is lighter and coarser, which means more surface area and a dramatically crispier coating.
- A wire rack on the baking sheet. Elevating the tenders lets hot air circulate underneath, so the bottom does not steam and turn soggy.
- Oil spray before baking. A light coat of olive or avocado oil spray gives the coating that deep golden color you usually only get from frying.
These three details are the difference between chicken tenders that are fine and chicken tenders that disappear off the plate in minutes.
Having the right kitchen tools really does make this dinner recipe with chicken tenderloins easier and more foolproof. A sturdy wire rack, a reliable instant-read thermometer, and a good oil mister are the three tools I reach for every single time I make this.
Tips for Perfect Chicken Breast Tenderloin Recipes, Oven-Style
Before you start breading, here are a few things worth knowing:
Pat the chicken completely dry. This is the step most people rush, but surface moisture is the enemy of a crispy crust. Take an extra 30 seconds with the paper towels and you will notice the difference.
Press the panko into the chicken firmly. Do not just roll the tender in the breading and call it done. Press it in with your fingers on all sides so the coating actually adheres and does not fall off mid-bake.
Do not skip the flip. Flipping the tenders halfway through baking ensures even browning on both sides. It takes ten seconds and makes a visible difference.
Chef's Tip: For extra flavor, add a pinch of cayenne pepper or a teaspoon of dried Italian herbs to the panko mixture. It is a small addition that gives the tenders a more complex, restaurant-quality taste.
What to Serve With Chicken Tenders
These boneless skinless chicken tenders go with just about everything, which is part of what makes them such a reliable chicken tender meal. A few of our favorite pairings:
- Honey garlic dipping sauce with roasted sweet potato fries (some of the best sides for honey garlic chicken you can find)
- Classic coleslaw and pickles for a diner-style plate
- Roasted broccoli and a squeeze of lemon for a lighter, healthier spin
- Mac and cheese for a fully comforting, crowd-pleasing dinner
For a healthy spin, pair these with a big green salad and a yogurt-based ranch dip. These chicken recipes with tenderloins are easy to adapt to whatever your family is craving that night.
Ready to make the crispiest, most satisfying chicken tenders of your life? Here is the full recipe:
Crispy Oven-Baked Chicken Tenders (Simple & Delicious)
These crispy oven-baked chicken tenders are golden, juicy, and ready in under 40 minutes. A simple chicken tenders recipe the whole family will beg for on repeat.
Ingredients
- 1 1/2 lb chicken breast tenderloins, patted dry
- 1 cup panko breadcrumbs
- 3/8 cup grated parmesan cheese, finely grated
- 1 tsp garlic powder
- 1 tsp smoked paprika
- 1/2 tsp onion powder
- 3/4 tsp kosher salt
- 1/2 tsp black pepper, freshly ground
- 2 large eggs, beaten
- 1/2 cup all-purpose flour
- 1 tbsp olive oil spray, or avocado oil spray
Instruction
Preheat your oven to 425°F (220°C). Line a large baking sheet with a wire rack and lightly grease the rack with cooking spray. Using a wire rack lets hot air circulate under the tenders for an all-over crispy crust.
Set up a three-station breading line: pour the flour into a shallow bowl, beat the eggs in a second shallow bowl, and mix the panko, parmesan, garlic powder, smoked paprika, onion powder, salt, and pepper together in a third shallow bowl.
Pat the chicken breast tenderloins completely dry with paper towels. Moisture is the enemy of crunch, so be thorough.
Working one at a time, dredge each tenderloin in the flour and shake off any excess. Dip it into the beaten egg, letting the extra drip off, then press it firmly into the seasoned panko mixture, coating all sides evenly.
Arrange the breaded tenders in a single layer on the prepared wire rack. Spray the tops generously with olive oil spray. This step is what gives you that deep golden color without deep frying.
Bake for 20 to 22 minutes, flipping halfway through at the 11-minute mark, until the coating is golden brown and the internal temperature of the chicken reads 165°F (74°C) on an instant-read thermometer.
Remove from the oven and let the tenders rest for 2 to 3 minutes before serving. Serve immediately with your favorite dipping sauces.
Equipment
- Large rimmed baking sheet
- Wire cooling rack
- Three shallow bowls or dishes
- Instant-read meat thermometer
- Cooking spray or oil mister
- Paper towels
- Tongs
Notes
Storing and Reheating Leftovers
If you are lucky enough to have leftovers, store them in an airtight container in the refrigerator for up to 3 days. To reheat, pop them in a 375°F oven or air fryer for 5 to 7 minutes. The coating comes right back to life and you would hardly know they were not freshly made.
You can also freeze the baked tenders in a single layer, then transfer to a freezer bag for up to 2 months. Reheat straight from frozen at 400°F for about 15 minutes. They make an incredible quick weeknight dinner when you have had a long day and need something reliable on the table fast.
These are, without question, one of the best recipes to make with chicken tenders that you will come back to again and again.